|
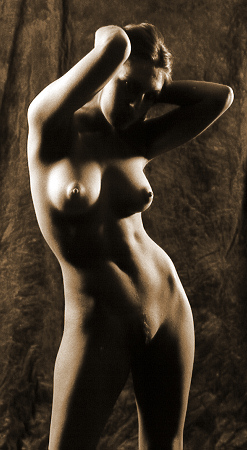
| Okay, I
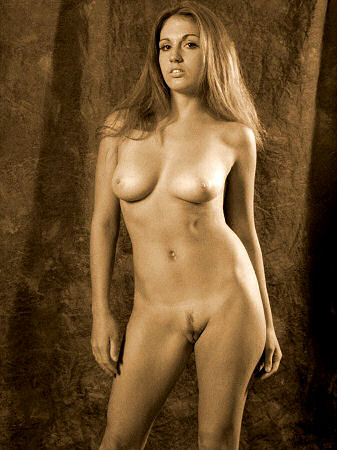
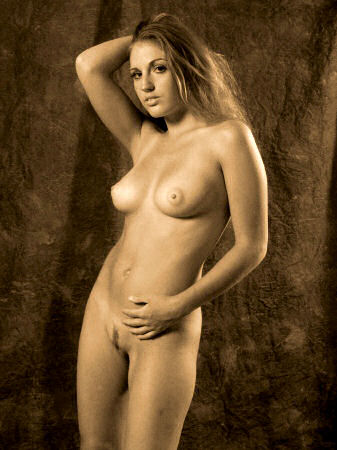
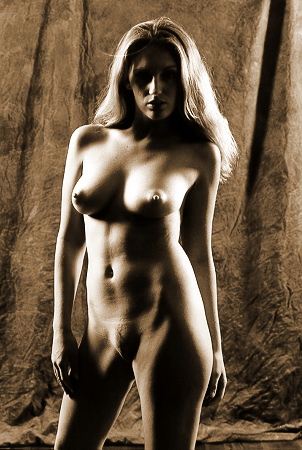
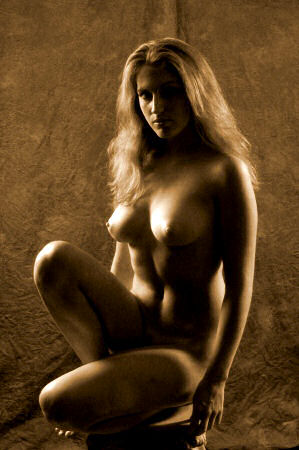
admit it. All we have here is a beautiful nude woman in an
uninteresting lighting setup. But at the time, I didn't
know. Again, Brooke is doing well with eye contact, and she is
doing exactly what I asked her to do -- specifically, I wanted a jog
in her hips. |
|
|
|
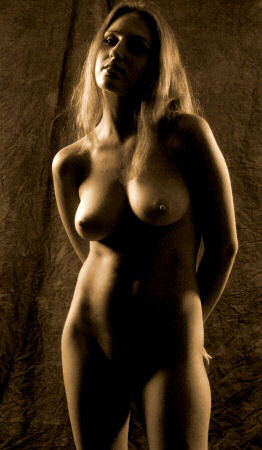
I
don't stay with that lighting
setup for long. I had in
mind some shadowy images, and
with the new soft light, I
make some nice ones.
Lots
of photographers do one-light
setups for silhouettes like
this, and I think that's a
mistake -- when one side just
drops into black, you lose the
opportunity to create a
three-dimensional image.
Here, light is coming in from
both sides. Also, the cliché
image has a totally black
background, but I want a
little detail & texture in
the background, to help
distinguish the edges of the
figure.
See
below.
|
| I get
occasional requests for more details on how I set up lighting.
This being an interesting setup, I thought I'd give it a try.
The setup is fairly
easy -- there are two, different sized soft boxes both positioned
behind & to the sides of the model. Since the soft boxes are
pointed towards the model, only a little light falls on the backdrop
behind the model; thus, the backdrop is fairly dark, but I like that
there still is a little detail in the shadows. You see, I
personally believe that you can go overboard with shadowy
pictures. It's easy to get fair-to-good results with shadows;
it's much more difficult to something better than the typical cliché
image. But overall, this setup is fairly easy.
Note: I
resisted the temptation to use harsh lighting -- the soft light from
the soft boxes makes the image more textural.
|
|
So,
do you want to see more diagrams &
explanations like this one, above?
(If you
haven't visited the Font
Note, please note that the diagram
uses the recommended font. Get
that font!)
|
|
You'll
see that in some of these film
images, the backdrop is
brighter than others, and that
the highlights on Brooke's
figure are brighter.
Why? It's simple -- in
these pictures, she is
standing closer to the back
wall, and the lights are
skimming the backdrop.
In others, she is standing
further away from the back
wall & the lights are
pointed away from the
backdrop. A difference
of just a few inches can make
a big, big difference in this
kind of lighting setup.
It
is interesting that the
backdrop has the mid-tones
while the figure itself has
the highlights & the
shadows, and there is good
detail in all. I thought
about cropping the bottom of
the photo, so that you
couldn't see the wood floor,
but I decided I liked
it. There are lots of
textures in this picture --
backdrop, skin, wood.
Hey, if it looks good, keep
it. |
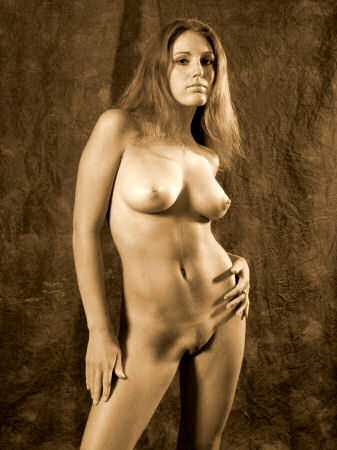
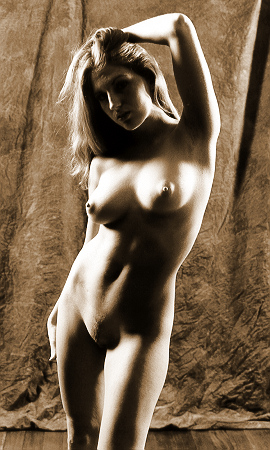
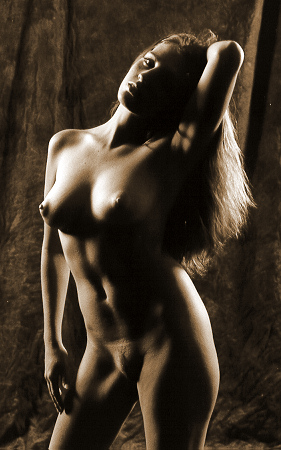
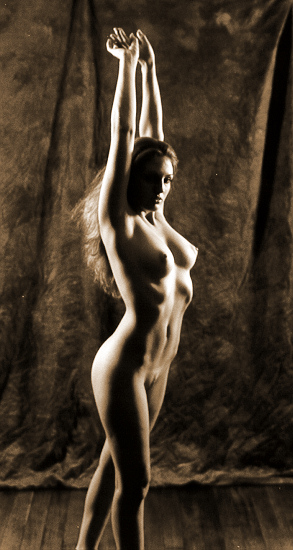
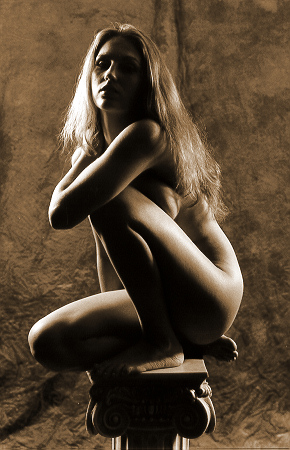
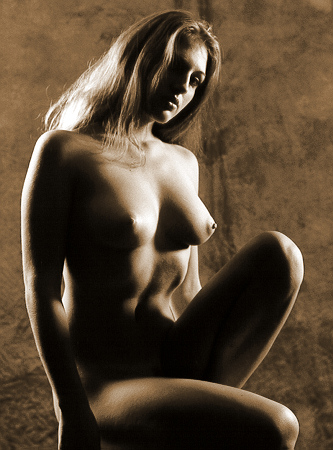
| Here's a
favorite from this sitting. I like the tonality. I like
that you can see a little bit of Brooke's face and that she is in the
moment. I like the hip jog. I like that you can see some
detail in the backdrop, giving a texture contrast to Brooke's
skin. I like that we can see that Brooke has some lovely muscle
tone. I like the balanced side lighting on Brooke's right
breast. I like the different angles in Brooke's arms, and I like
that you can see the edges of all limbs -- nothing disappears into
shadow on shadow. I like the glow on Brooke's right cheek. |
|
|
|
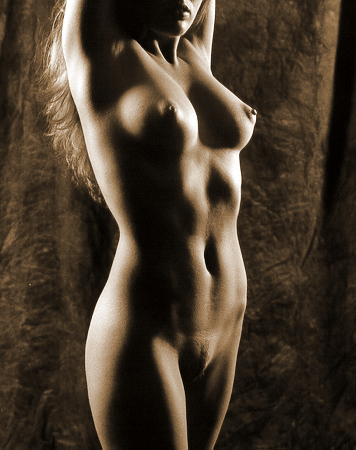
If
you scroll back up to the
lighting setup diagram, you'll
see that the model is shown facing square
to the
camera, with her hips
perpendicular to the camera
axis. Actually, using
this lighting setup, it's
better if the model is turned
45º either to the right or to
the left. With that kind
of angle, the back light can
skim her figure, making more
interesting images.
You'll
note that I rarely pose a
model with her hips square to
the camera -- I just like to
see a model pose at an
angle. Sometimes I may
ask the model to twist her
upper body so that her
shoulders are square -- that
gives an interesting twist to
her figure & provides some
yummy tension in the model's
belly.
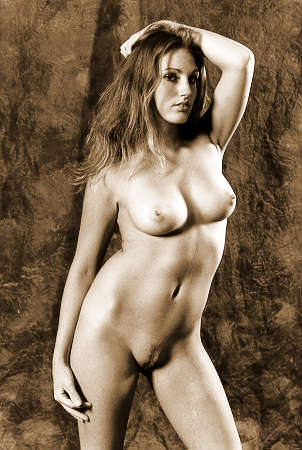
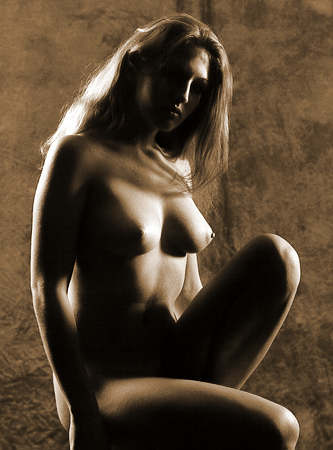
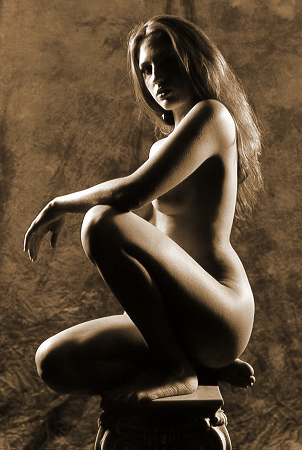
This,
too, is a favorite from this
setup. And here, I think
I might prefer to crop out the
model's knees & the wood
floor -- what do you think? |
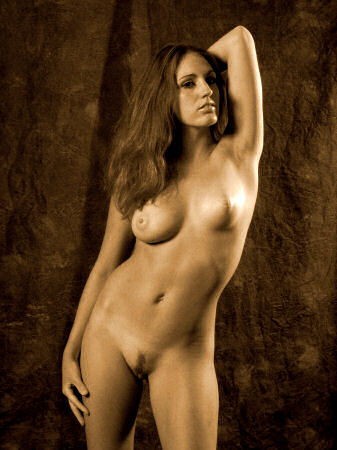
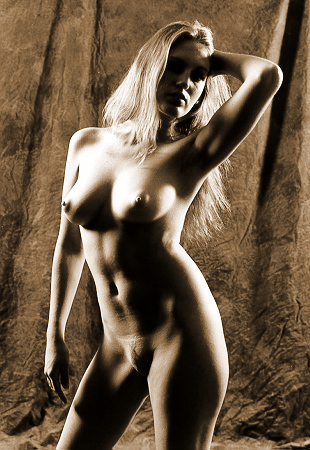
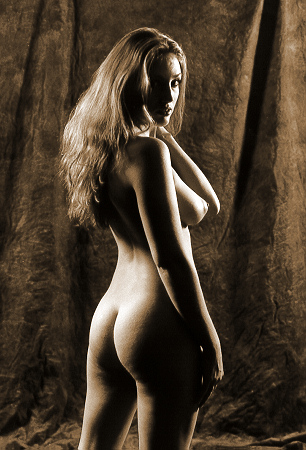
| I
don't utilize this kind of angle
much. In general, I like
the model to face me so that we
can talk during the
sitting. But all of
Brooke's parts are working well
here. I like how this
light looks on her hair (you are
looking at her hair, aren't
you?).
Okay
-- enough about sharing lighting
secrets. No, let me share
one more: you
should work on figuring all this
out for yourself!!!
When you look at any photograph,
spend a little time trying to
figure out how it was lit.
I do that all the time, and that
habit of mine is responsible for
what skill I've been able to
develop. I don't mind
helping if you can't figure it
out, but work on it. It's
important.
|
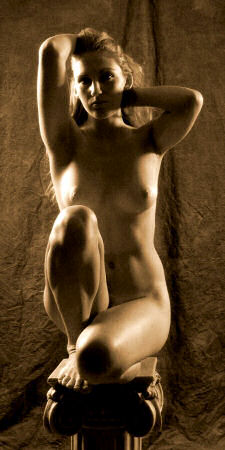
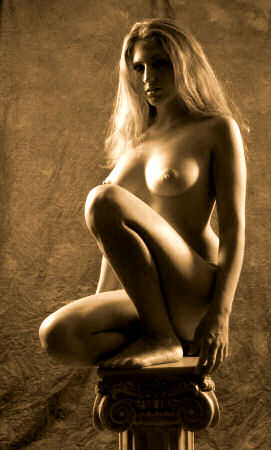
| During
Jennifer's first visit, I had her pose
on this display column, and she had a fun time doing this.
So, I decided to see what that column looks like in this shadowy
lighting that we were using. |
|
|
|
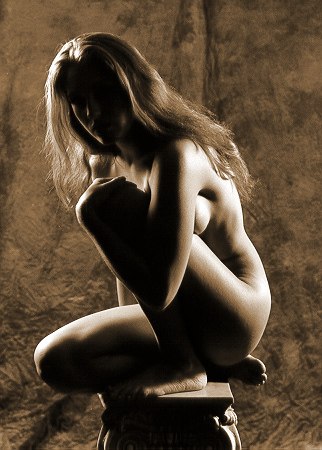
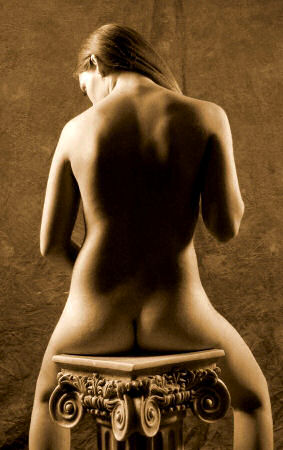
It's
funny -- what I like best
about this image on the left is the shadow
of that lock of hair across
the upper portion on Brooke's
chest. What I like about
the picture directly above is
the hint of the facial
features that you can see. |
|
| I've
known a lot of photographers who have
a happy accident -- they create an
image they really like without quite
knowing how they did it, and then they
spend an enormous amount of energy
trying to recreate that one
image. It happens often.
And I have a tendency to do the
same. This page is a good
example -- I start with an uninspired
lighting setup & tried to make it
work. But I realized that it
wasn't going to work, so with some
movement of the light stands by a
couple of feet, I created the shadowy
lighting that I liked. It's an
important lesson -- you've got to try
hard to keep pushing the envelope,
trying something new. I think
that's very important -- the new part
can be subtle & small, but you've
got to keep trying --
otherwise, you aren't growing, you are
stagnating. For me, photography
is an experience, and the resulting
images are of secondary importance.
This
sitting continues on the Lying
Down.
|