|
| I love & hate boom arms. I
like being able to set a light up high, and I like that
I can even position myself directly under the light without
tripping over the wires. But I hate boom arms.
I have a boom arm that gets placed on top of my heavy
duty light stand. I hate it.
- It's difficult to get the boom arm attached to
the light stand.
- It's difficult to tighten it down so that it
doesn't slip.
- It's difficult to balance the darn thing.
- It's difficult to raise the boom up higher.
- The higher you raise the boom arm, the more difficult
it is to balance.
- It's difficult to adjust the lighting, especially
when the light is out of reach.
The solution is a boom arm that is mounted on the wall.
With such a boom arm, you don't need counter weights, and
there is no light stand (with its widely splayed legs) to
get in the way. There is no chance of the whole shebang
tipping over or getting in the way. It is restrictive
because the wall mount can't be moved, and the light can't
be positioned any closer to the wall mount than the minimum
length of the telescoping boom arm.
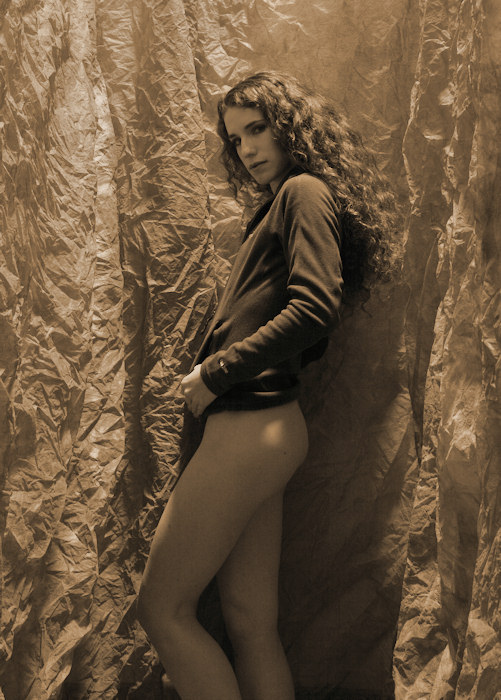
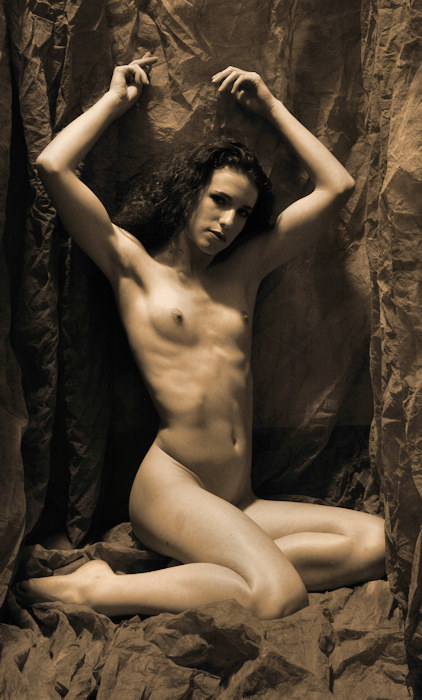
I have two wall mount spots in the living room, where
I do most of my studio photography, and I have one wall
mount spot in the back stairs. Keira helps me break
in the back stairs boom arm wall mount.
|
|
|
|
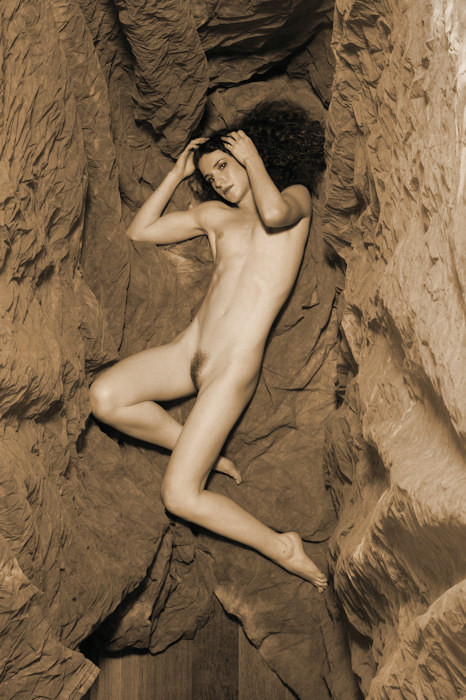
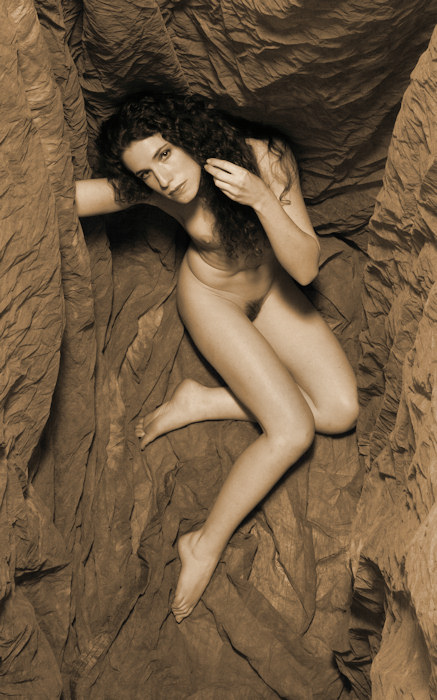
I've worked
the boom arm on a light stand setup here in the back stairs,
but that was awfully difficult. So, I had hopes for
the boom arm wall mount setup. Immediately, I found
the positioning of the wall mount to be restrictive, too.
The boom arm just isn't long enough to position the strobe
arm in front of the model, like I wanted.
The challenge
is that you can't just slap a wall mount wherever you want
-- the wall mount really needs to dig into wood (studs)
in order to be secure. I think there's another place
to put the wall mount for the back stairs. Some day,
I'll get around to setting that up, but for today, we've
got to work with what we've got.
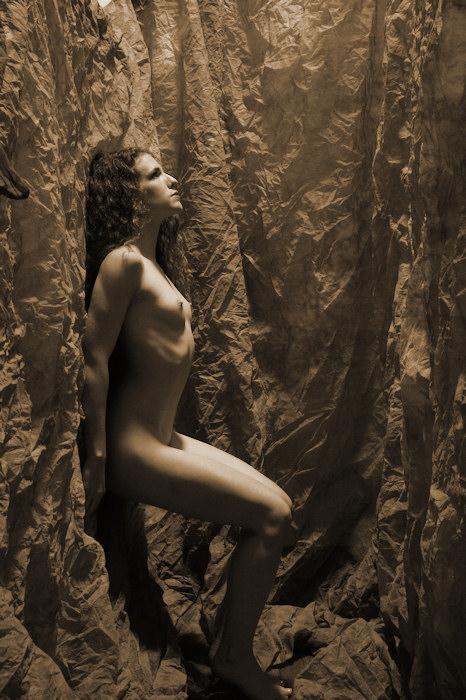
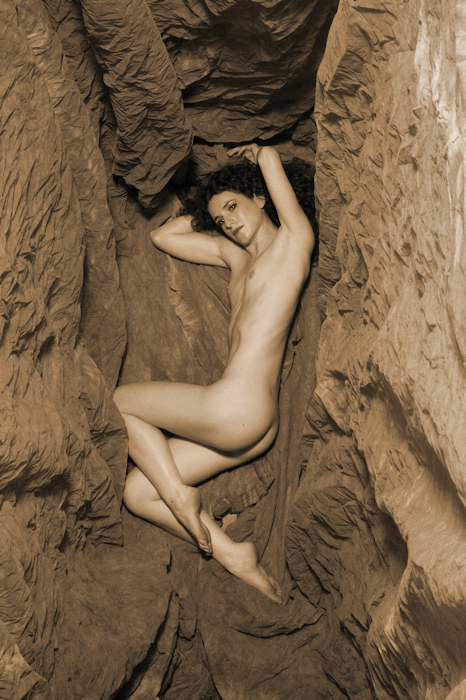
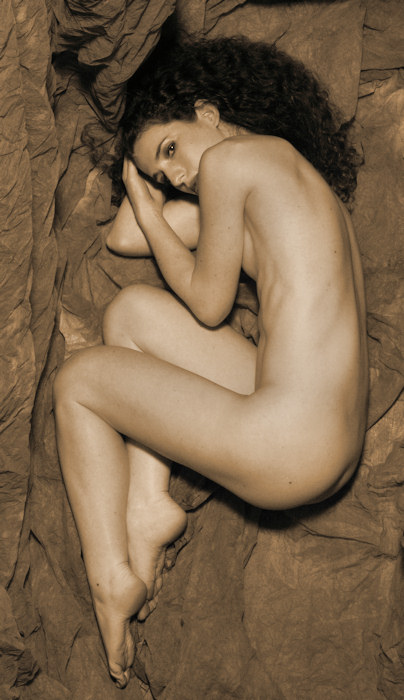
One advantage
of the wall mounted boom is that there is no equipment under
the boom. So, I climb the stairs & make some exposures
from above, looking down.
|
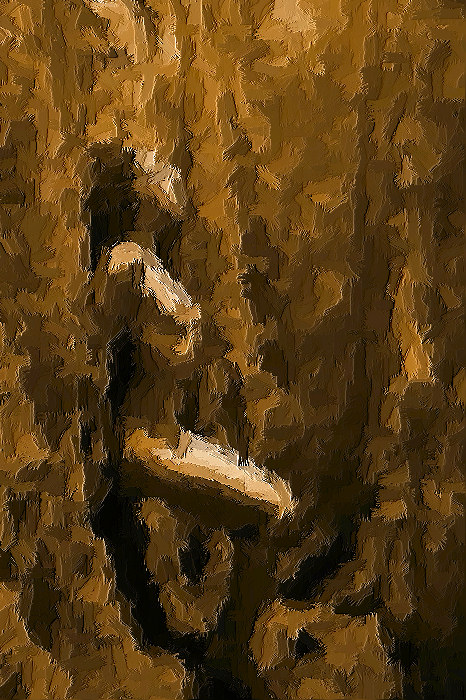
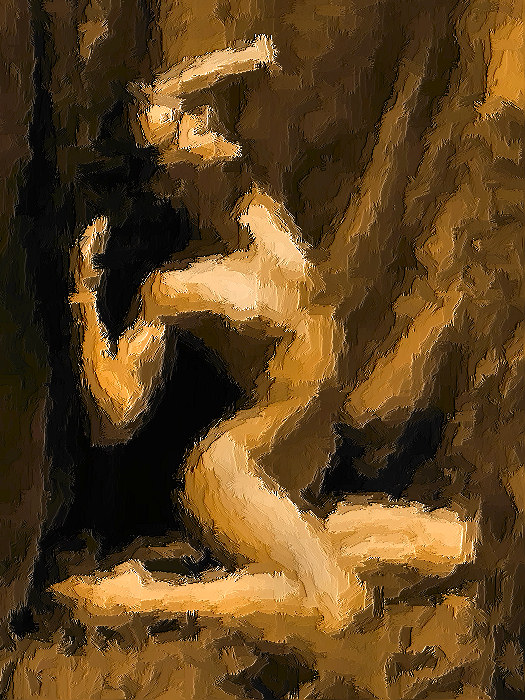
| I do like these images better.
There's a weightless feeling for these images, created by
the looking down perspective and the swirling backdrop all
around. |
|
|
|
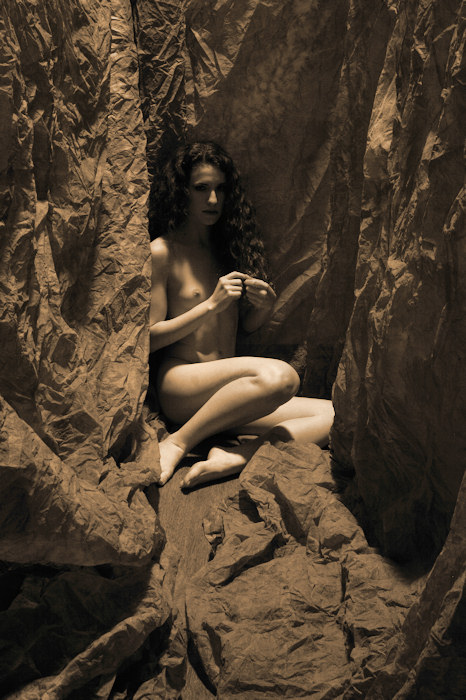
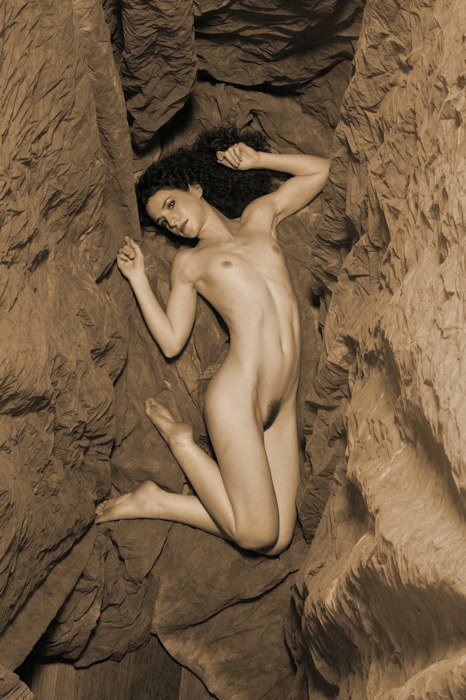
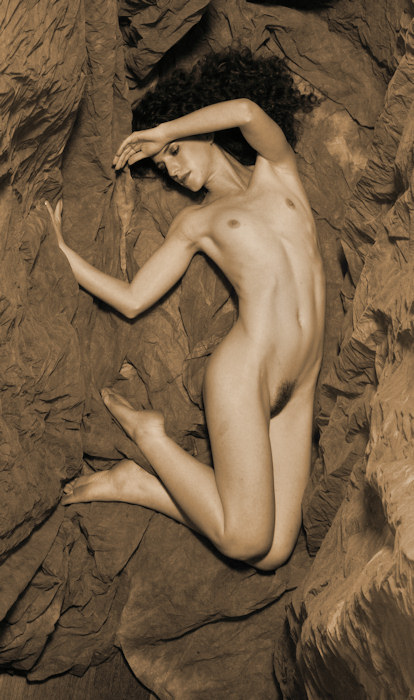
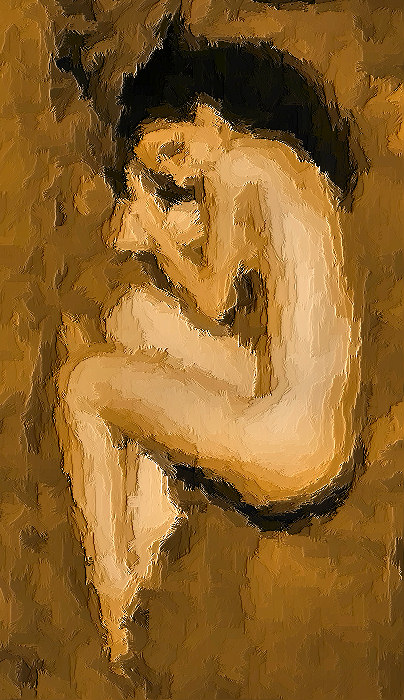
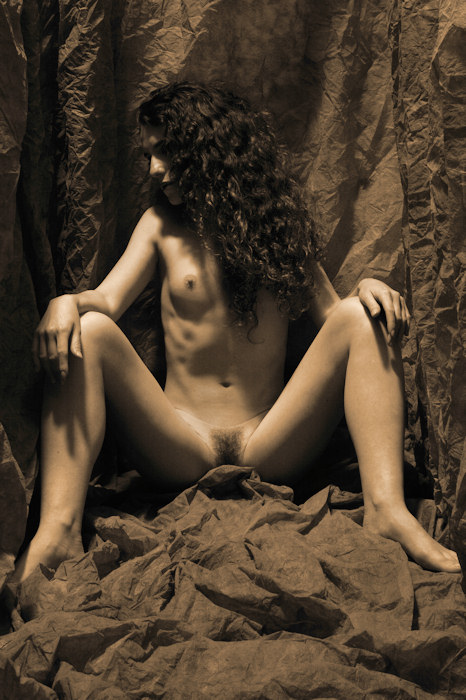
While I do find the above-straight-down
perspective interesting, I stubbornly try to make the same
level images work. I just can't get the strobe light
positioned where I want -- here, it creates heavy shadows,
too much shadows. In retrospect, I could have added
a fill light near the camera position, or I needed to find
a way to position the overhead strobe light better (even
if that meant using the boom arm on the light stand setup.
We keep working, but the results are mixed, and the good
images are hard in coming.
|
|
|
|
That concludes
the images Keira & I made during our second sitting
together. But we were not done. As it turns
out, an out-of-town photographer wanted to work with Keira;
he made a three hour drive to work with her, but they had
no place to work. Keira called me & asked if he &
she could use my house, and I agreed on the condition that
I could make a few "behind the scene" images and
that I can post some samples of the images they made.
Later, another local photographer wanted to work with Keira,
and the only timeslot she had left was the morning before
the out-of-town photographer arrived. So, we made
the same deal.
Two photographic
session, with the same model in the same location.
And I got to watch. Go see...
|
Keira, Behind The Scenes
|