|
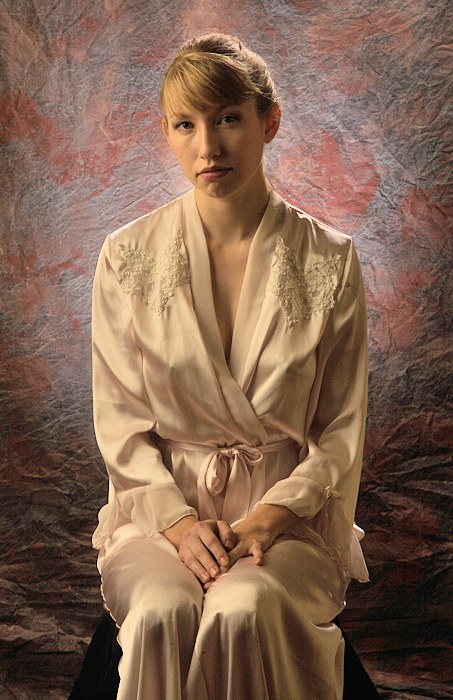
| Veronica
is taking the local scene by storm. She's quite
beautiful, and as you will soon see, she has a fantastic
figure.
She's
also a perfect choice for our little
"micro-workshop" -- she's patient (because we
photographers were chatting about boring technical stuff
all the time).
But I
do notice one thing: My normal "process"
is to set up the lighting first, making fine tuning
adjustments during the first few exposures, but then,
with the camera on a tripod, I turn my attention 100%
onto the model. This time, was different:
- I'd
set up the lights,
- I'd
explain why I was setting up the lights the way I
was,
- I'd
do my fine tuning,
- I'd
make a few exposures, showing the photographers the
impact of subtle changes to the model's posing,
- But
I'd basically chat with the photographers, not the
model.
As
such, I detect a tiny little lack in the engagement of
the model's expression. I hasten to say that this
was, in no way, Veronica's fault -- she was & is
terrific, but I just wasn't paying a lot of attention to
her, and with so much going on around her, it was
difficult for her to narrow her focus.
In
any case, we went through several different lighting
setups. I'd take a few exposures, and then turn
the set over to one of the other photographers.
There was never enough time to "hit the
stride", but there was plenty of time to understand
the lighting.
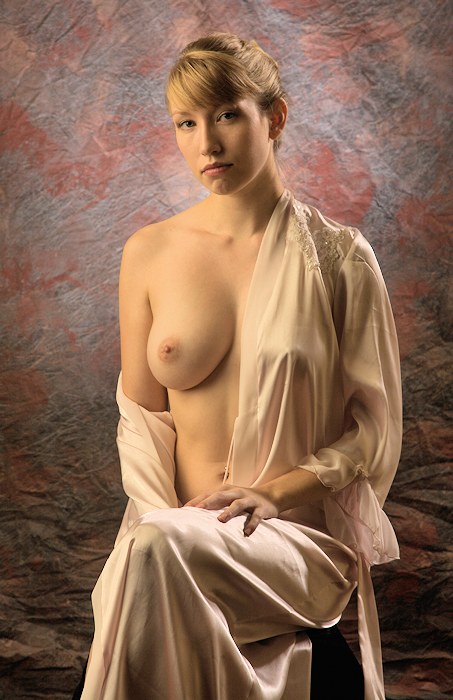
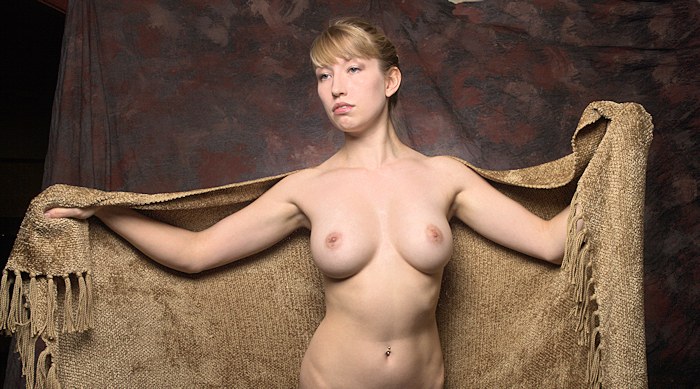
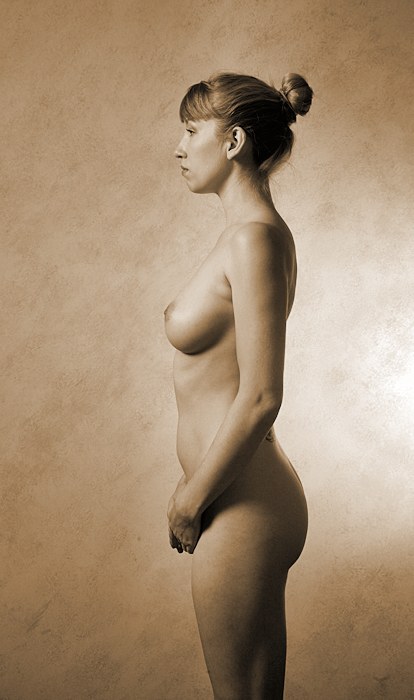
Below
is a mini-exercise -- same lighting, but different
breast exposed.
|
|
|
|
|
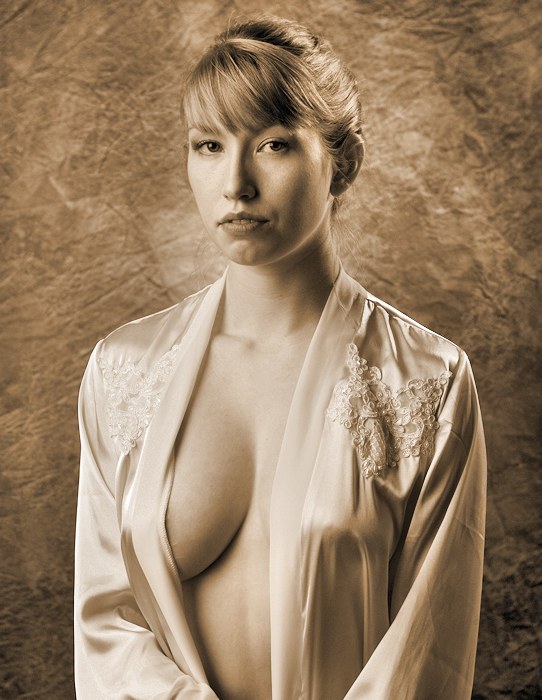
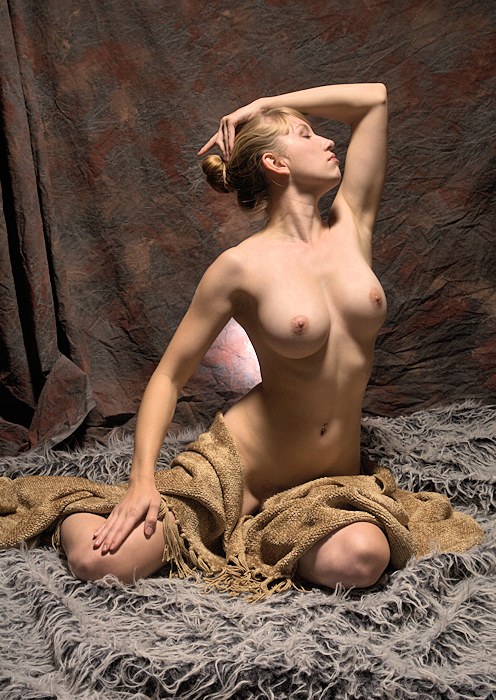
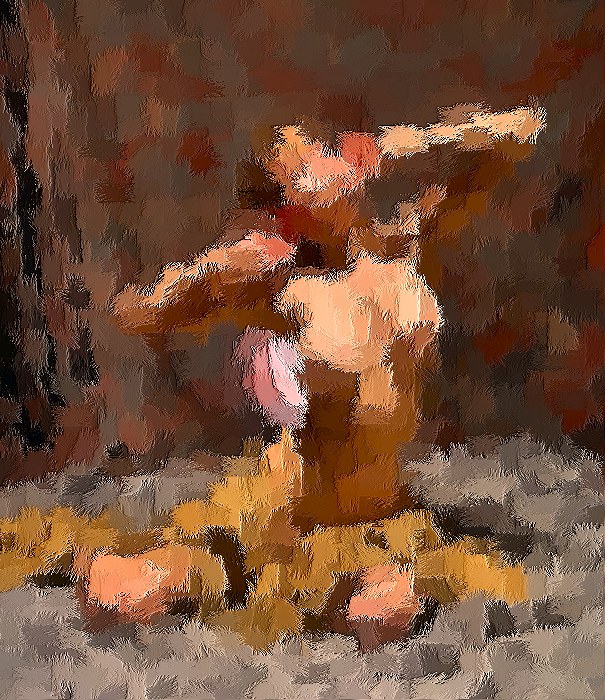
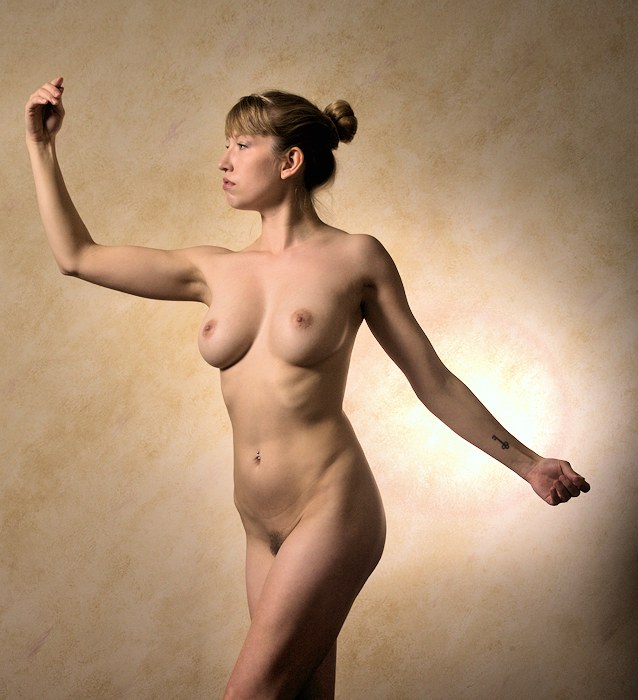
| We
start with one of my favorite lighting setups -- The
main light is the big honkin' soft box, which is 4 feet
wide & 6 feet tall, lifted a few feet off the ground
& pointed down slightly. The soft box is
actually quite close to Veronica, and somewhat to the
side. It provides nice gradient shadows -- look at
her breast in the image on the left above. In
addition, the small (1 foot and 1.5 feet) soft box is
high and semi-behind Veronica, providing the light on
her left side, especially on the left side of her
face. This soft light also looks nice on the
draping of the cloth of her robe. Finally, there
is a light that is just devoted to lighting the
backdrop. Lots of people neglect putting light on
the background, but I find that if I balance the
tonality along the edge of the model in contrast with
the tonality of the background. I think it's
important to pay attention to that detail. |
|
|
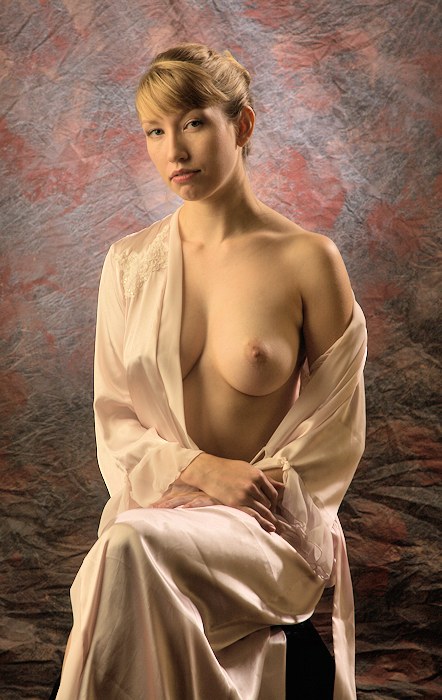
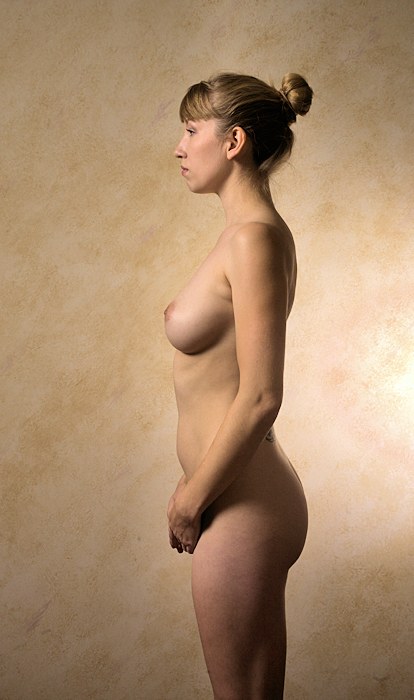
I
demonstrate that little changes in the positioning of the
lights can make subtle but significant changes to the
image. Here, all I've done is move the big honkin'
soft box closer to the camera position -- you can see this
by the fact that the left side of Veronica's face is
getting more light.
Also
note the subtle positioning of Veronica's head -- her face
is pointed somewhere to the left of the camera position,
but her eyes are turned towards the camera lens. I
find that working in smaller spaces, these subtle
decisions can have a big impact.
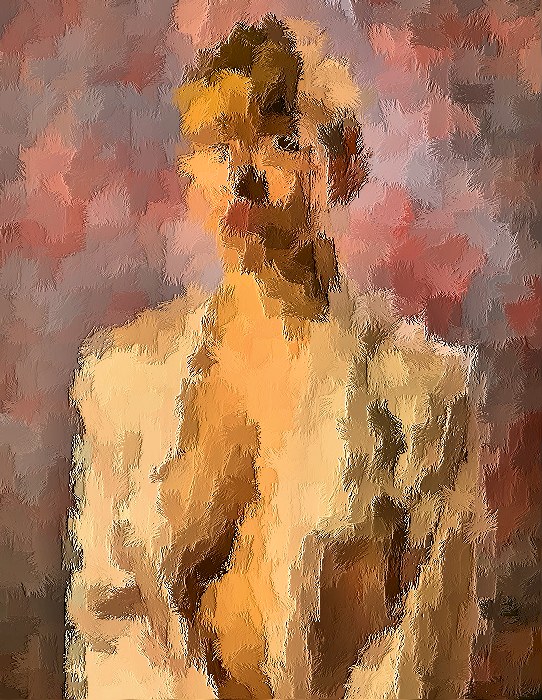
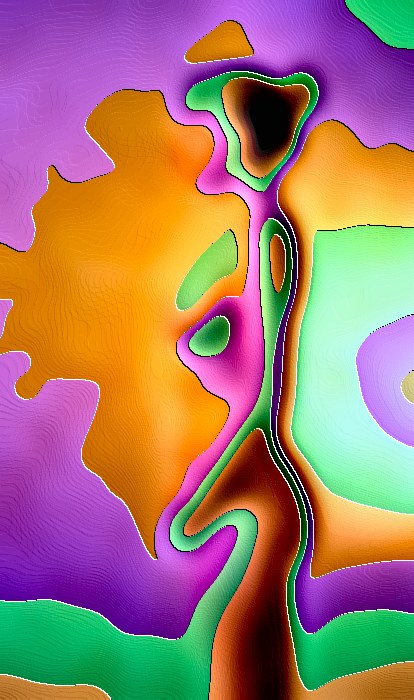
I
like this picture -- let's see some artistic effects
(below).
Back
in the film days, Ansel Adams equated the negative to a
music score and the print to the performance of that
score. In these digital times, the RAW digital image
is the equivalent to the film negative, and the
"processed" (i.e. photo-edited) image is the
equivalent to the print. |
|
|
|
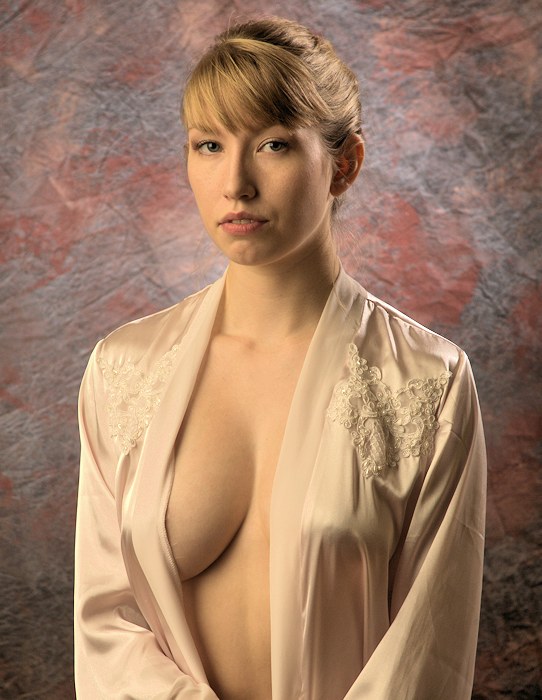
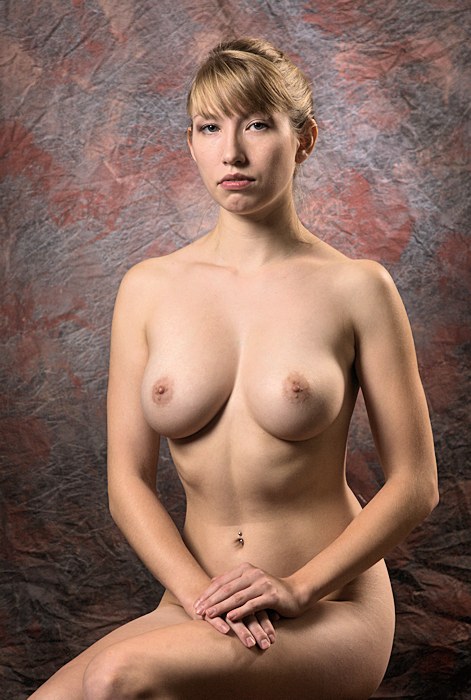
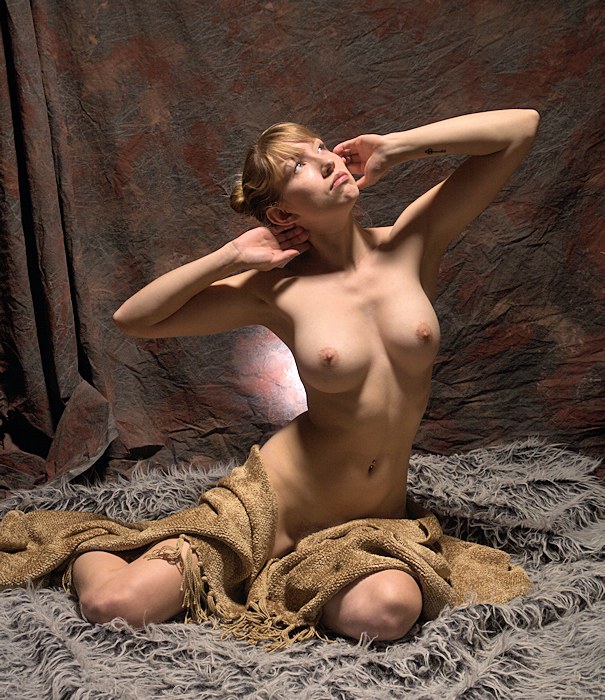
| Once
again, the lighting has changed.
I got
to admit that I often get requests for lighting diagrams
and/or descriptions, and I don't often provide
them. That's because I have a habit of
deconstructing lighting, and I think it's an important
skill for studio photographers to hone. Here some
of the things that I look for.
- I
look at the position & "hardness" /
"softness" of the shadows; in particular,
it is important to see the direction of the shadows.
- I
see if I can identify different light sources.
- If
I can look at the model's eyes, the highlight in her
eyes often provides the best clues.
So, I
can immediately see that the lighting in this image is
different from the previous ones. I can see...
- The
shadows, while still soft, are not as soft as they
were in the previous pictures,
- The
shadow of Veronica's nose is not as big as
previously.
So, I
believe that I have swapped the big honkin' soft box for
a smaller soft box, because the shadows are a bit
harder. Judging by the shadow of Veronica's nose,
it is clear to me that the soft box is only slightly
higher than Veronica's head. Judging by the larger
shadows under Veronica's breast and under her left hand,
it is clear to me that the main light soft box is fairly
close to Veronica.
The
position of the secondary light can be determined by a
couple of factors -- it is lighting Veronica's jaw line
all the way to the point of her chin, but the light
doesn't fully light her left cheek.
I
encourage all photographers to learn to deconstruct the
lighting of images, especially the good ones that are
lit by artificial light.
|
|
|
|
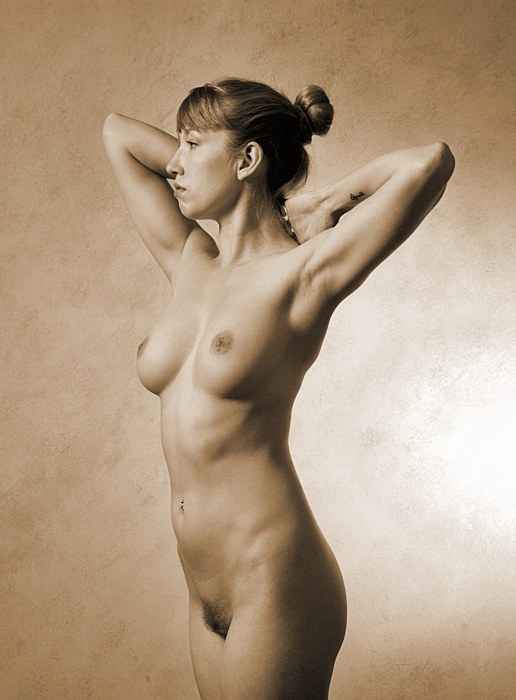
Okay
-- from one lighting setup to the next, I'm only making
small changes. Can you tell what's changed?
We'll use it as an exercise in deconstructing the
lighting of an image -- compare it to the images above.
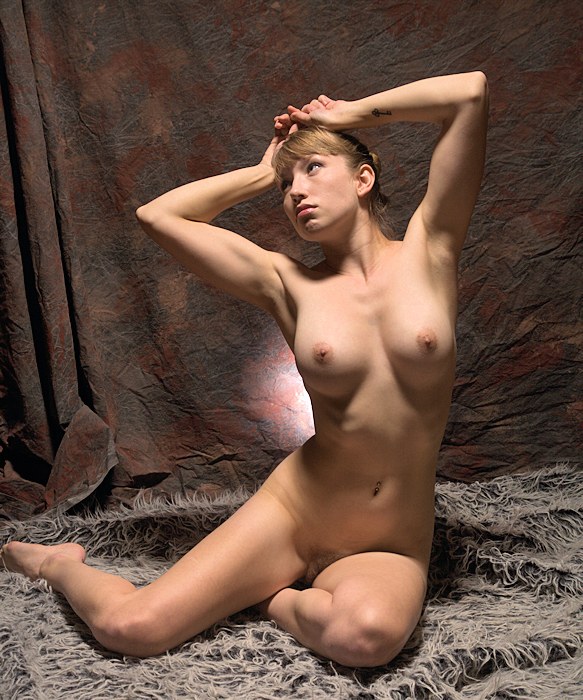
Veronica
is standing -- that's one thing. But the change in
the lighting has resulted in a darker background.
Look closer: there is a circular glow to the light
behind Veronica. Before, I had a light on a small,
7 inch reflector, that was flooding the background &
providing so much light. I've moved that light,
and I've put a tight grid on it. It is on a pole
behind Veronica, positioned so that the light is about
as high as the middle of Veronica's back. -- it is
pointed directly at the background.
Again,
we are moving through different lighting setups, giving
each photographer a turn at snapping off a half-dozen
exposures in turn. |
|
|
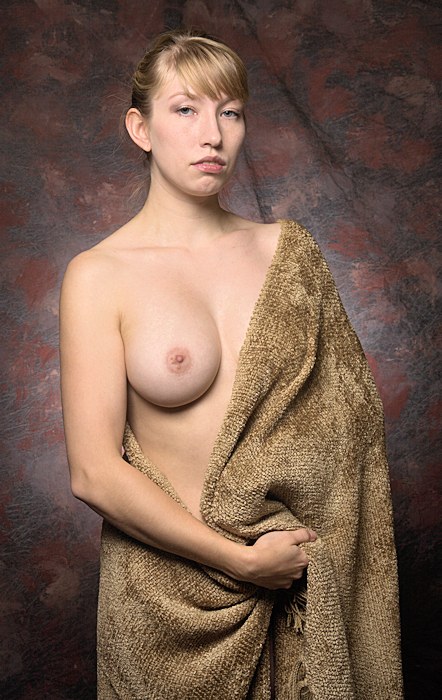
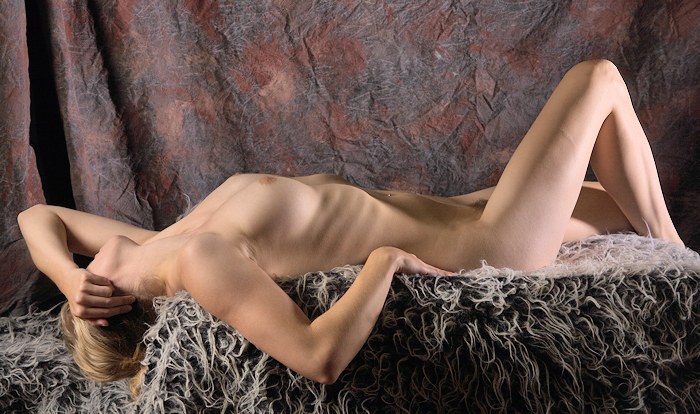
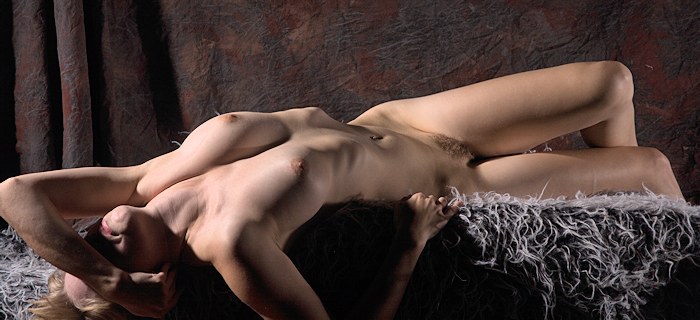
| This
was a pose requested by one of the attending
photographers -- he was familiar with Veronica &
wanted a pose of her lying on her back, emphasizing her
ribs. This is my first attempt. Again,
"deconstructing" the lighting, I see that I'm
still using a medium sized soft box (judging by the
shadows on the gentle creases in the backdrop). I
can tell that the light is fairly close to Veronica,
just off to the left of the camera position -- I can
tell this because the light on her neck falls off
quickly before it reaches her thigh. Judging by
the shadow on her right breast, I can tell that the
light is fairly low -- barely above the level of her
right knee. There is a secondary light that also
is close to Veronica, off the right side of the image --
it lights her calf brightly but the light falls off
quite a bit before it reaches the underside of her
breast. I don't believe that there is any light
devoted to the backdrop. |
|
|
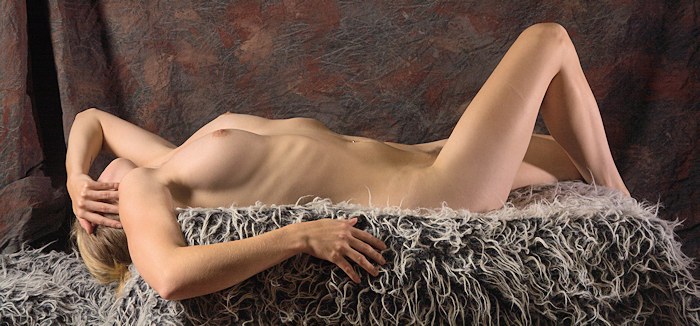
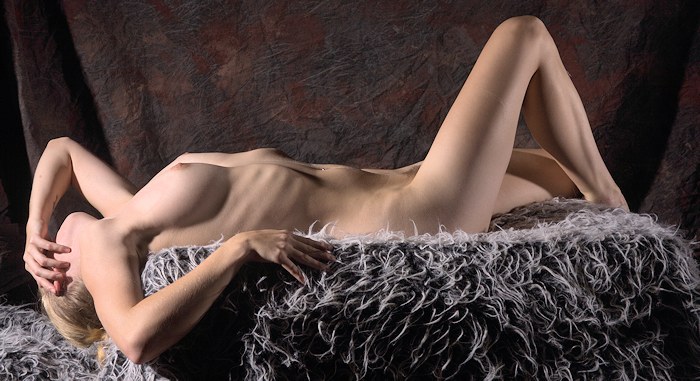
| Two
images, each with pretty much the same pose, but the
light is significantly different. The image above
is using the same lighting as the previous image
(described above). I've made a couple of changes
to produce the lighting below. Can you figure
these changes out?
Well,
I've replaced the medium soft box with a simple small
reflector -- you can tell by the harsher shadow on
Veronica's lovely breast. This light is still
close to Veronica -- you can tell because the light is
much brighter on Veronica's shoulder than it is on her
thigh. Finally, the light is positioned slightly
differently to keep much off the backdrop -- the
backgrouind is much darker in the image below. |
|
|
|
|
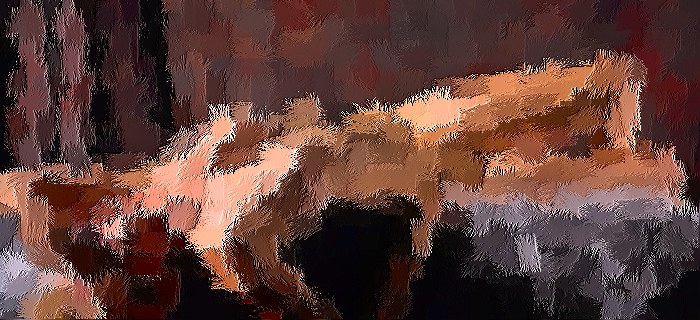
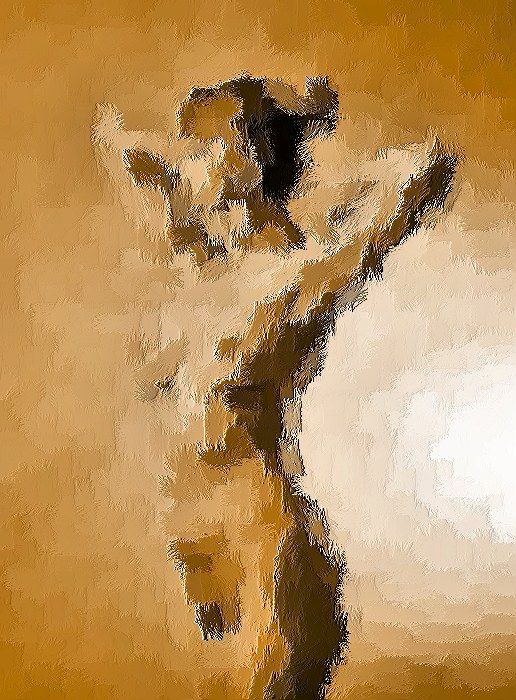
| Yes,
even with these "micro-workshop" images, I
like the abstraction of these artistic effects.
Here's the paint brush effect, using the biggest
possible paint brush size. |
|
|
Interlude:
How big should your studio be?
Short
Answer: A studio can easily be too small, but
it can never be too big. Your aesthetics will
always be limited by the size & shape of your
studio.
Detailed
Answer: In the previous images, I've
noted that the main light falls off quickly -- the light
on Veronica's shoulders is much brighter than the light
that reaches her thighs. That indicates that the
light is close to the model. If you ask me, I'll
say that I meant to do that, but the truth of the matter
is that I really didn't have that much choice -- though
my living room is of a good size, it just isn't wide
enough for me to back the light further away from the
model.
So,
some rough thoughts on studio size: Consider the
image that contains the most space you would want in
your image. For example, consider wanting to
photograph a standing model from head to toe. I
recently worked with a model who was six feet tall (with
very long arms). If she chose a pose where she
stretched her arms abover her head, she's be taking up
7.5 or more vertical feet (plus you've got to add some
space for positioning. This implies a few things
to me:
- Ideally,
the ceiling needs to be at least a couple of feet
above the highest part of the subject. Thus,
one would need ceilings at least 9.5 feet high
(which by no coincidence is how high my ceilings
are). That way, you might be able to position
lights on a boom arm, above the model. More
space above would be nice, so that you are not
forced to position lights too close to your model.
- Consider
how wide your studio should be -- if that six feet
tall model lied down, the resulting image could be
seven or eight or more feet wide. Now consider
-- sometimes you want to / need to position the main
lights to the left or right outside the image
boundaries. Thus, add three or four feet on
either side of the seven or eight feet captured by
the image, and you need a space that is fifteen or
sixteen feet wide.
- Consider
the space behind the model. Sometimes, it's
okay to ask the model to stand up against the back
wall, but I often like the model to stand two or
three feet in front of that wall -- that allows me
to position backdrops & lights to illuminate the
backdrop.
- Consider
the space between the model & the camera.
A rule of thumb, if you are using a
"normal" lens, if your subject is going to
be six feet tall, you need about six feet between
the camera & the model. If the model
raises her hands above her head, you'd need maybe
7.5 feet. Then, you need a few feet hehind the
camera, for you and for any lights you want to
position near the camera axis.
- Thus,
you need a room that's at least fifteen feet deep.
That
width... That's a minimum. Consider my big
honkin' soft box -- it's surface is 4' by 6', and it's
almost four feet deep. You can put the soft box on
a light stand, but that only works if you position the
face of the soft box perpendicular to the floor to
simulate window light. However, in order to get
the "master painter" light, I like to tilt the
face of the soft box down, simulating a skylight, not a
window light. But with a soft box that big, you
can't tilt it down because the light stand itself gets
in the way. So, you have to put the big soft box
on a short boom arm. So that whole shebang (soft
box, light stand, and boom box) can take up a 6' x 6'
area of the floor. In addition, that arrangement
of the soft box on a boom arm on a tall light stand --
that's top heavy, too -- you need to save a bit of floor
space around that arrangement to avoid brushing against
it & knocking the light stand over. So, those
width measurements -- consider your technique & your
lighting equipment when you figure out the necessary
width of your studio space.
Of
course, if your image space is smaller, you can get by
with a smaller shooting space. If you want to
expand your image space, you'll need to expand your
shooting space. And I would consider these
guidelines to be minimum comfortable measures. You
can probably get by with less space, but that might
become to feel cramped.
You
can play tricks, too. Instead of using a
"normal" lens, you can use wide angle lenses,
but these distort and often look unflattering to
faces. If you use mild telephoto lenses (favored
for portraits), you'd either have to cut down on the
image space (by doing head & shoulders shots), or
you would need a space that is deeper in the camera axis
direction. |
|
|
It
is strange to me -- we are moving from lighting setup to
lighting setup, often for no reason but to demonstrate
different setups.
Again,
I encourage web site visitors to try to
"deconstruct" the lighting -- how was this
lit?
Okay,
here's how it's lit:
- The
main light is a strobe head with a small reflector,
positioned directly above Veronica, pointing
down. See the sharp shadows along her
jaw? That, and the shadows on her torso, is
you clue for positioning and modifiers.
- There
is another strobe head, with a small reflector,
directly behind Veronica. It has a grid in it
-- you can tell that there's a grid on it because
the light is tightly focused & not spread
out. This background light is important to
provide tonal separation between Veronica's figure
& the backdrop. Without that light, you
wouldn't see the line defining the right side of
Veronica's torso.
|
|
Same
lighting, different pose. I didn't quite get this
setup right -- I think I should have lowered the camera
perspective closer to the floor. At the very least,
that would have minimized the visual confusion of all the
stuff on the floor.
This
lighting, when well done, can be fantastic. There
are some common pitfalls:
-
If
the model looked directly at the camera, there would
be a big lot of shadows across her face. The
effect could be positively ghoulish.
-
On
some models, this kind of very harsh, very directional
light can highly any impurities on the model's
skin. (Fortunately, Veronica's skin is perfect, so you
can't see a single flaw).
-
Even
on models with perfect figures, this light could make
her look unshapely.
But,
in the right circumstances, it can be lovely light.
So,
let's play with a couple artistic effect. Right now,
I've ratcheted up the parameters to maximize the
abstruactions. |
|
|
|
|
| For
our next variation, I decided to take down the painted
canvas backdrop & use the faux painted wall of my
living room as a background. The point I wanted to
illustrate is tonal separation -- to me, it's very
important that the subject matter stand out in some way
from the backdrop. (I dislike those dark images
that are typically lit with only one light -- sure, the
lit part of the model is clearly seen, but the shadow
side disappears against a black background). Here,
there are only two lights -- the main light illuminating
Veronica from in front of her, and a second light that
provides the hot spot on the back wall. That lit
back wall -- you can see Veronica's curves, even though
she's in shadow.
|
|
| I
think it's very beneficial getting to know your local
photographers & models, yet many of the
photographers I meet online resist this. One such
benefit is this micro-workshop. I've got to admit
that I've learned a lot, even though I was the one
supposedly doing the teaching. |
|