|
"There's art; all else is maintenance" I've been thinking about this a lot, because my life has been getting very complicated. (If you are really interested, see my bio). Less than a month after our fourth sitting together, Barbara returns for a fifth. (Be sure to visit her own web site.) Now, to be honest, I wasn't terribly prepared for this sitting. Not only was the sitting quick on the heels of the previous one, but my "maintenance" needs were severe, including an out of town trip that ended just a couple of days before this sitting. Normally, I want to have specific concepts to work on, especially when I'm working with a familiar model. This time, however, all that was on the agenda was making sure I could recreate (and improve upon) some lighting set-ups from the previous sitting. One of the major lessons learned in this sitting is that things go better when you are better prepared. Don't get me wrong -- it was important for me to make sure I mastered specific lighting set-ups, and I really like many of these pictures, but I can't claim that there is anything new or significant in this sitting. Be assured -- this is my fault, not Barbara's. But as an artist, you've got to be your own toughest critic, and you really have to work hard at setting the bar higher each time you work on your art. And that's the advantage of working with a pro like Barbara -- she'll keep you honest. |
|
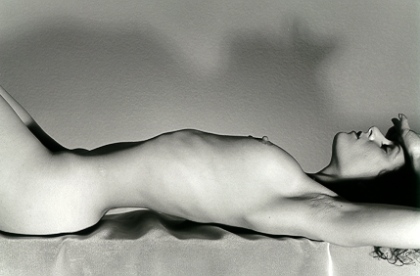
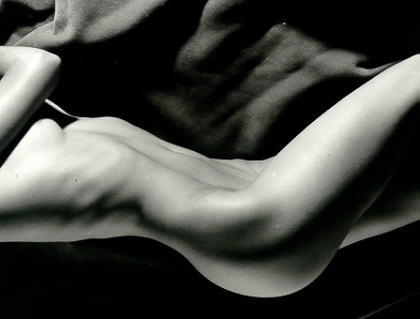
First Set Up -- Hard Light On Smooth Body: For years, I've been using soft boxes & reflectors to soften the light that I use for nude photography. Recently, I've admired images where the outside edges of the body are defined by a dark shadow, and that kind of lighting is created with a harsher light source. So, we start with these.
I'm surprised & pleased about how well harsh light works on smooth bodies. The only caution is to make sure you don't cast weird shadows on the model's face. But it's difficult to make a bad picture with this model. Here are some more pictures from this first set-up. |
|
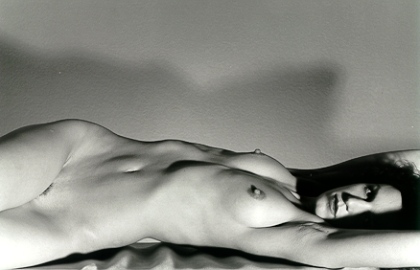
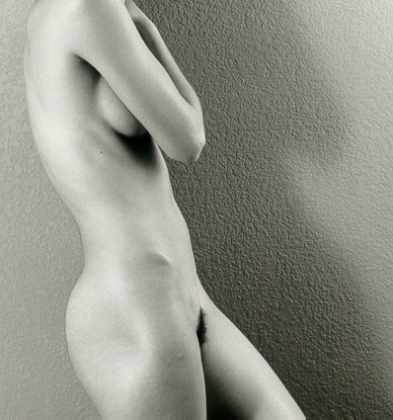
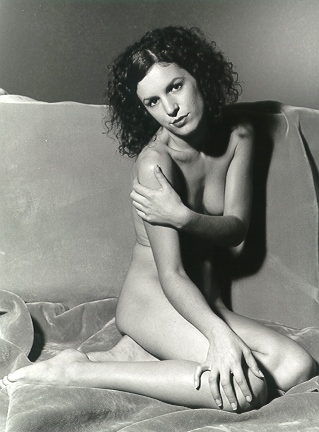
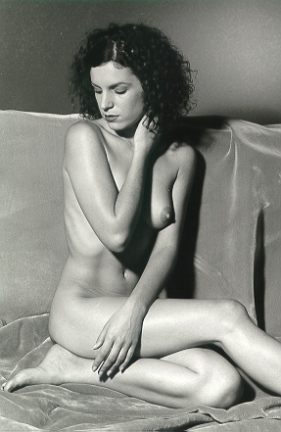
So, here are good examples of how this lighting works. I love the dark shadow that defines the top edge of Barbara's body. The shadow cast on the back wall is a bonus. Just to keep things interesting, I had another light behind Barbara on the bottom part of the back wall -- it's subtle, but an important contribution to this set-up.
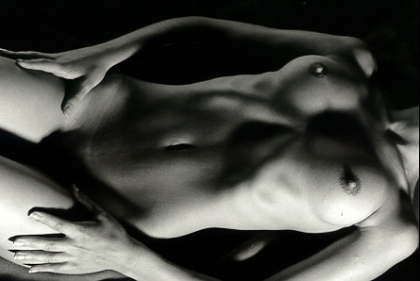
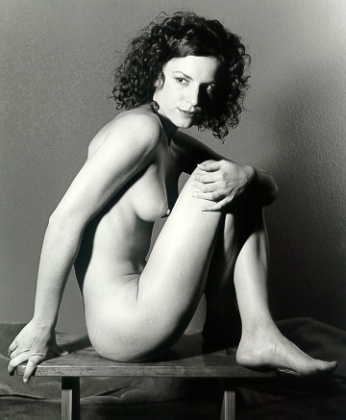
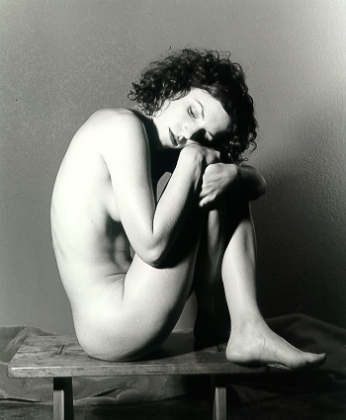
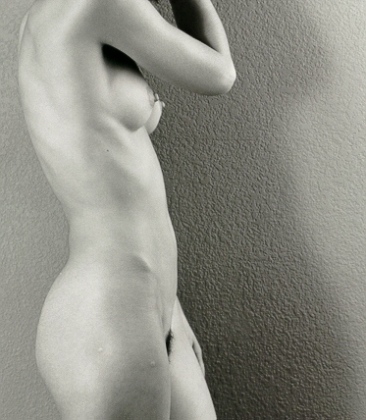
Above Barbara, Part Deux: I wanted to work on the "Above Barbara" lighting from our Fourth Sitting. This lighting combines a harsh light on one side with a soft box on the other. For this sitting, I used a smaller soft box, to get more shadows. This works well on a model with a lean, streamlined body like Barbara's.
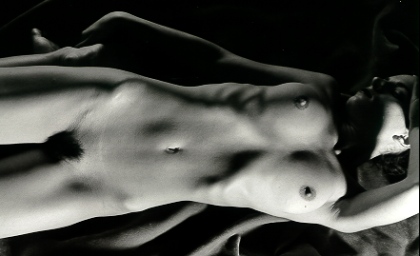
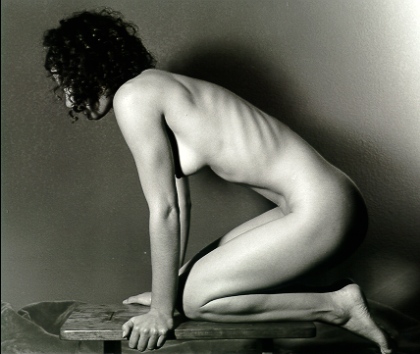
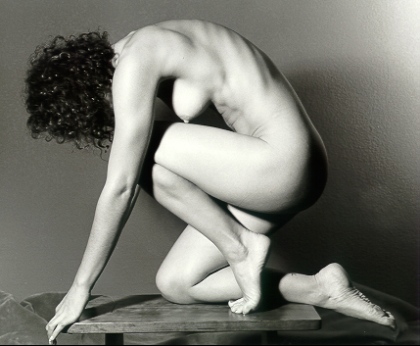
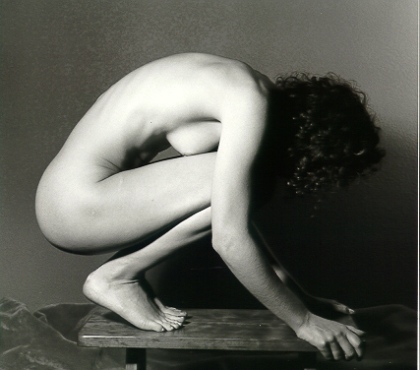
I love how the model's body glows with this lighting. And I'm always fascinated by how shadows can make the image more three-dimensional. The Bench: I recently purchased this lovely small mission-style bench, and I asked Barbara to balance on top of it. (Yeah, I know, not very inspired). But it ain't about the bench -- it's about the strong direct light on a lean & muscular body. Take a look...
|
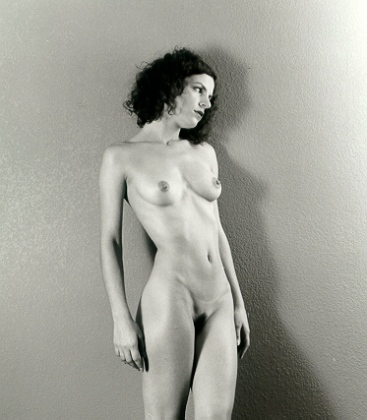
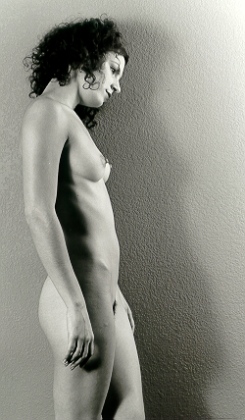
| Against The Wall: The final set-up of this sitting was simple -- Barbara posed in strong direct light against the back wall of my studio, with a little added light off to the side for interest & balance. I also love seeing the model plus her shadow on the back wall.
|
 I'm
trying out a new credo:
I'm
trying out a new credo:
 We
were trying for an "evil look" feeling for this picture; how
did we do?
We
were trying for an "evil look" feeling for this picture; how
did we do?